项目启动 | SooMooc 直播平台
前端所有代码已经同步到 GitHub Repo: EthanLuu/soomooc: React + TypeScript 实践,在线教学直播平台。 (github.com)
迫于课程实践要做一个在线教学直播平台,就拿 React 练练手吧。
既然是一个教学直播平台,就先起名叫做 SooMooc 了 🎉
技术栈说明
- React:前端框架
- React Ant Design:组件库
- OBS:直播推流工具
- livego:直播服务器
- flv.js:网页视频播放器
初始化项目
因为之前有看过一个 React + TypeScript 的实战视频,这次干脆也试着用 TS 写咯。
先在命令行创建项目。
npm install -g create-react-app
npx create-react-app soomooc  --template typescript
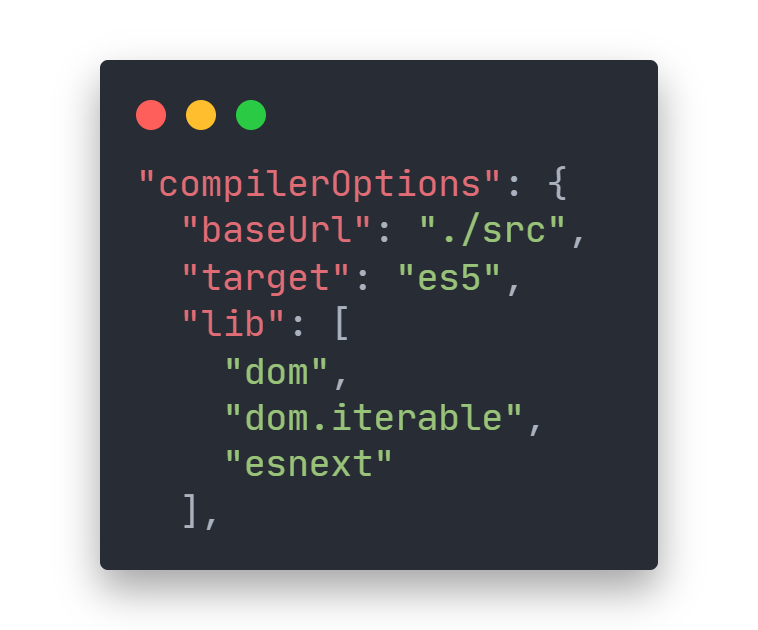
修改一下 tsconfig.json 里的 compilerOptions,修改一下 baseUrl,便于以后的 import 操作。
"baseUrl": "./src",
antd
安装 antd 样式库。
yarn add antd
修改 src/App.css,在文件顶部引入 antd 的样式。
@import '~antd/dist/antd.css';
craco
为了实现主题的自定义和模块化的 CSS 书写方式,我们需要安装 craco 插件,注意这里有两个包。
# 自定义主题
yarn add @craco/craco craco-less
# 模块化书写 CSS
yarn add @emotion/styled
安装完之后在根目录新建一个文件 craco.config.js,可以在这里自定义主题配色、字体等。
const CracoLessPlugin = require('craco-less')

module.exports = {
  plugins: [
    {
      plugin: CracoLessPlugin,
      options: {
        lessLoaderOptions: {
          lessOptions: {
            modifyVars: {
              // '@primary-color': 'rgb(0, 82, 204)',
              '@font-size-base': '16px',
            },
            javascriptEnabled: true,
          },
        },
      },
    },
  ],
}
这里把字体大小设置成 16px,是为了方便后续可以设置成
font-size: 62.5%,最终实现1rem = 10px
修改一下 App.css
html {
  font-size: 62.5%;
}
html body #root .App {
  min-height: 100vh;
}
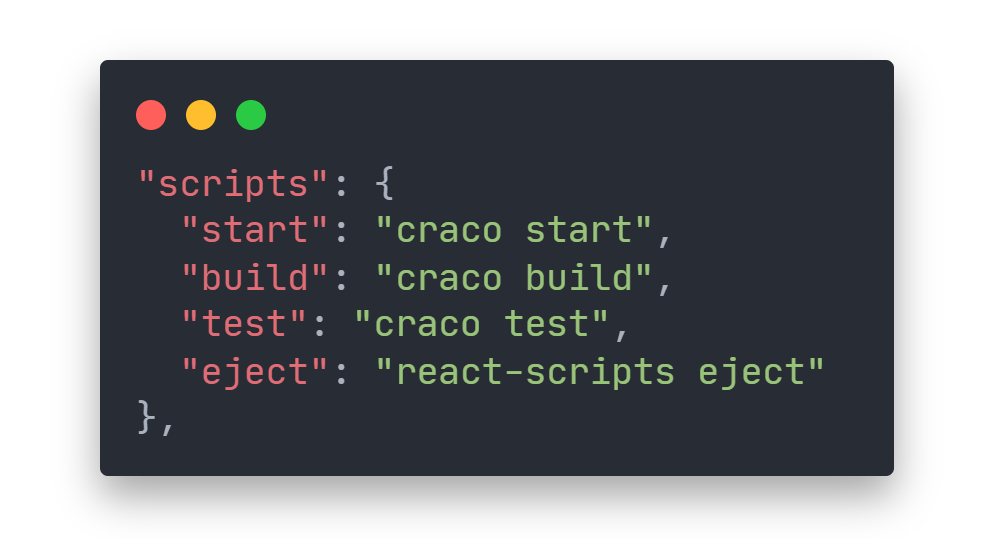
顺便改一下 package.json 里面的命令脚本。
commitlint
安装 commitlint,用于规范 git 提交格式。
conventional-changelog/commitlint: 📓 Lint commit messages (github.com)
-
安装库
yarn add @commitlint/config-conventional @commitlint/cli -D -
在项目根目录新建文件
commitlint.config.jsmodule.exports = {extends: ['@commitlint/config-conventional']} -
安装并配置
husky,用于在git commit前进行格式检查。# Install Husky v6 yarn add husky --dev # Activate hooks yarn husky install # Add hook npx husky add .husky/commit-msg 'npx --no-install commitlint --edit "$1"'
提交格式如下:
git commit -m <type>[optional scope]: <description>
常用 type:
- build:主要目的是修改项目构建系统(例如 glup,webpack,rollup 的配置等)的提交
- ci:主要目的是修改项目继续集成流程(例如 Travis,Jenkins,GitLab CI,Circle等)的提交
- docs:文档更新
- feat:新增功能
- fix:bug 修复
- perf:性能优化
- refactor:重构代码(既没有新增功能,也没有修复 bug)
- style:不影响程序逻辑的代码修改(修改空白字符,补全缺失的分号等)
- test:新增测试用例或是更新现有测试
- revert:回滚某个更早之前的提交
- chore:不属于以上类型的其他类型(日常事务)
直播组件 demo
参考 gwuhaolin/reflv: react component wrap flv.js (github.com)
先写一个播放器的 demo,熟悉一下推拉流所需要的技术栈。
新建 src/components 文件夹,存放通用组件。
新建 src/screens 文件夹,存放页面相关组件。
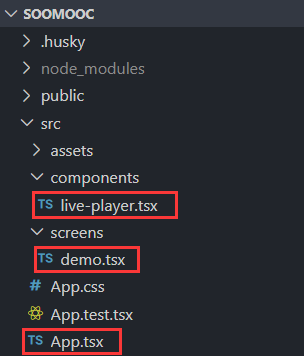
live-player.tsx
live-player.tsx 组件是对 flv.js 的封装。
import { useEffect, useRef } from 'react'
import flvjs from 'flv.js'

interface LivePlayerProps {
  type?: string
  url: string
}

export const LivePlayer = (props: LivePlayerProps) => {
  const flvRef = useRef<flvjs.Player>()
  const videoRef = useRef<HTMLVideoElement>(null)
  useEffect(() => {
    if (flvjs.isSupported()) {
      flvRef.current = flvjs.createPlayer({
        type: 'flv',
        isLive: true,
        cors: true,
        ...props,
      })
      if (videoRef.current) {
        flvRef.current.attachMediaElement(videoRef.current)
        flvRef.current.load()
      }
    }
  }, [props])

  return (
    <div className={'video-container'}>
      <video ref={videoRef} className={'video'} width="80%" controls>
        {`Your browser is too old which doesn't support HTML5 video.`}
      </video>
    </div>
  )
}
demo.tsx
demo.tsx 界面组件用于展示播放器。
/* @jsxImportSource @emotion/react */
import { LivePlayer } from 'components/live-player'
import styled from '@emotion/styled'

export const Demo = () => {
  return (
    <PlayerContainer>
      <h2 css={{ 'font-size': '3rem' }}>SooMooc Demo</h2>
      <LivePlayer url="http://localhost:7001/live/demo.flv" type="flv" />
    </PlayerContainer>
  )
}

const PlayerContainer = styled.div`
  text-align: center;
`
App.tsx
将 demo 界面组件包到 App 里。
import './App.css'
import { Demo } from 'screens/demo'

function App() {
  return (
    <div className="App">
      <Demo/>
    </div>
  )
}

export default App
直播流程
在本地试用一下这个播放界面。
在开始推流之前,要先知道推流的地址,本项目使用 livego 作为推拉流的中介服务器。
在 GitHub 的 livego 上直接下载最新版 release 安装即可,我这边是 windows 版。
当然你也可以按照说明里下载源码自己进行编译
安装完成后直接在本地打开 livego.exe 运行服务器即可。
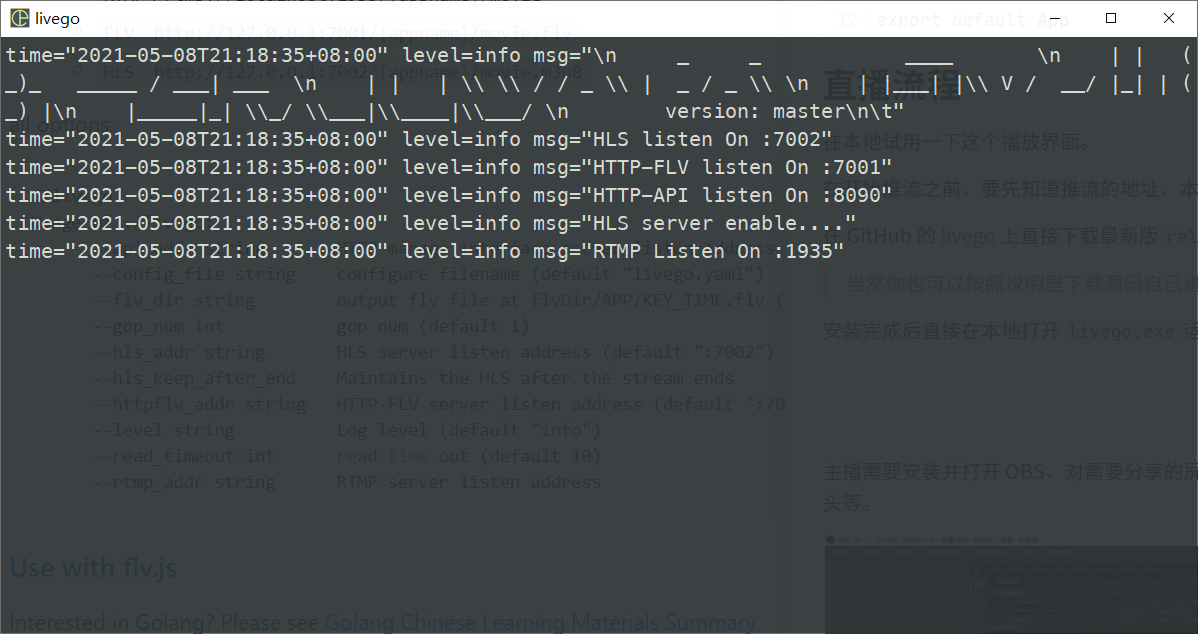
可以看到这边的 RTMP 的接口是 1935,由于我们的服务器架在本地,所以推流的服务器地址应该是 rtmp://localhost:1935
主播需要安装并打开 OBS,对需要分享的屏幕进行自定义,点击左下角 ➕ 可以添加文字、图片、摄像头等。
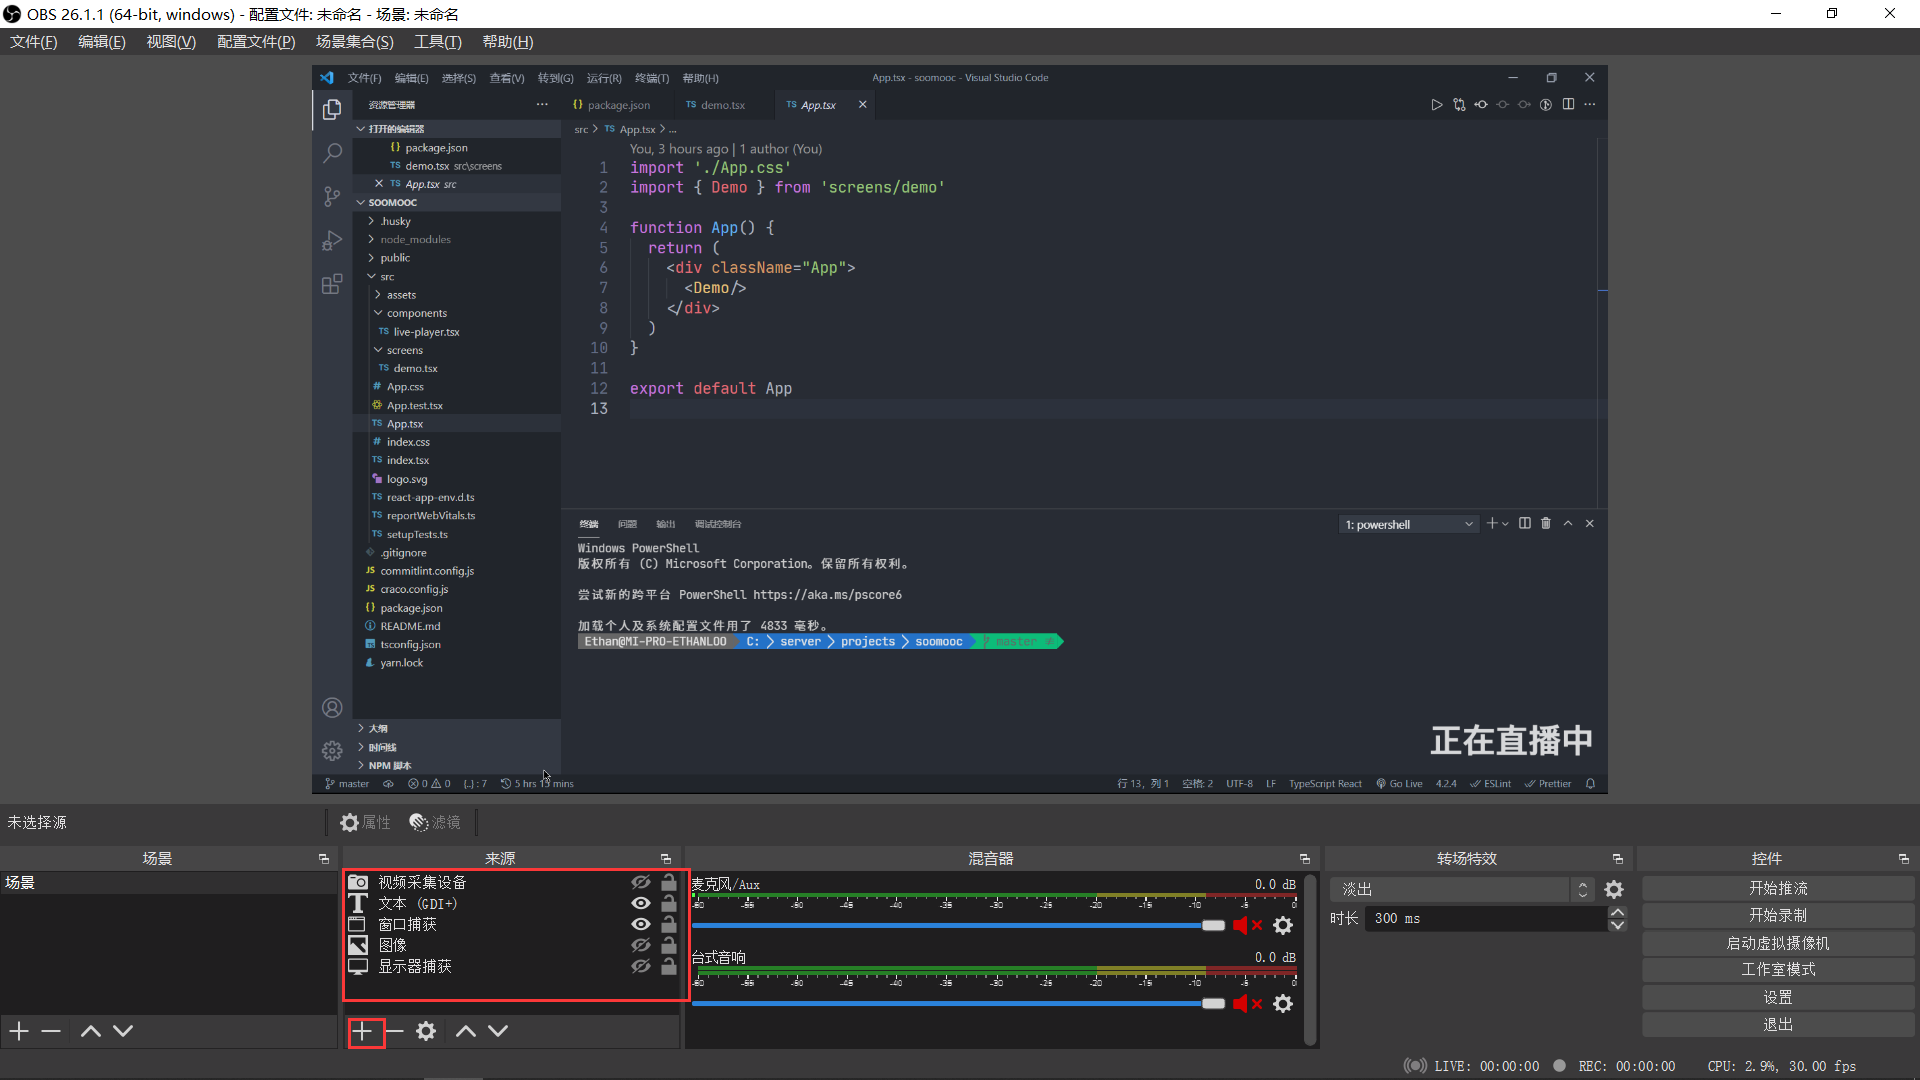
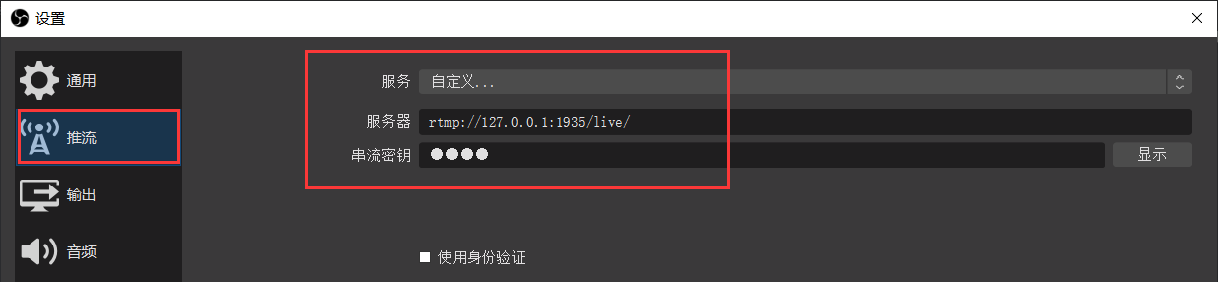
点击右下角设置,在推流界面填写我们刚刚知道的服务器地址和密钥。
在 OBS 界面点击开始推流,此时 OBS 右下角会显示推流的速度和时间等信息。
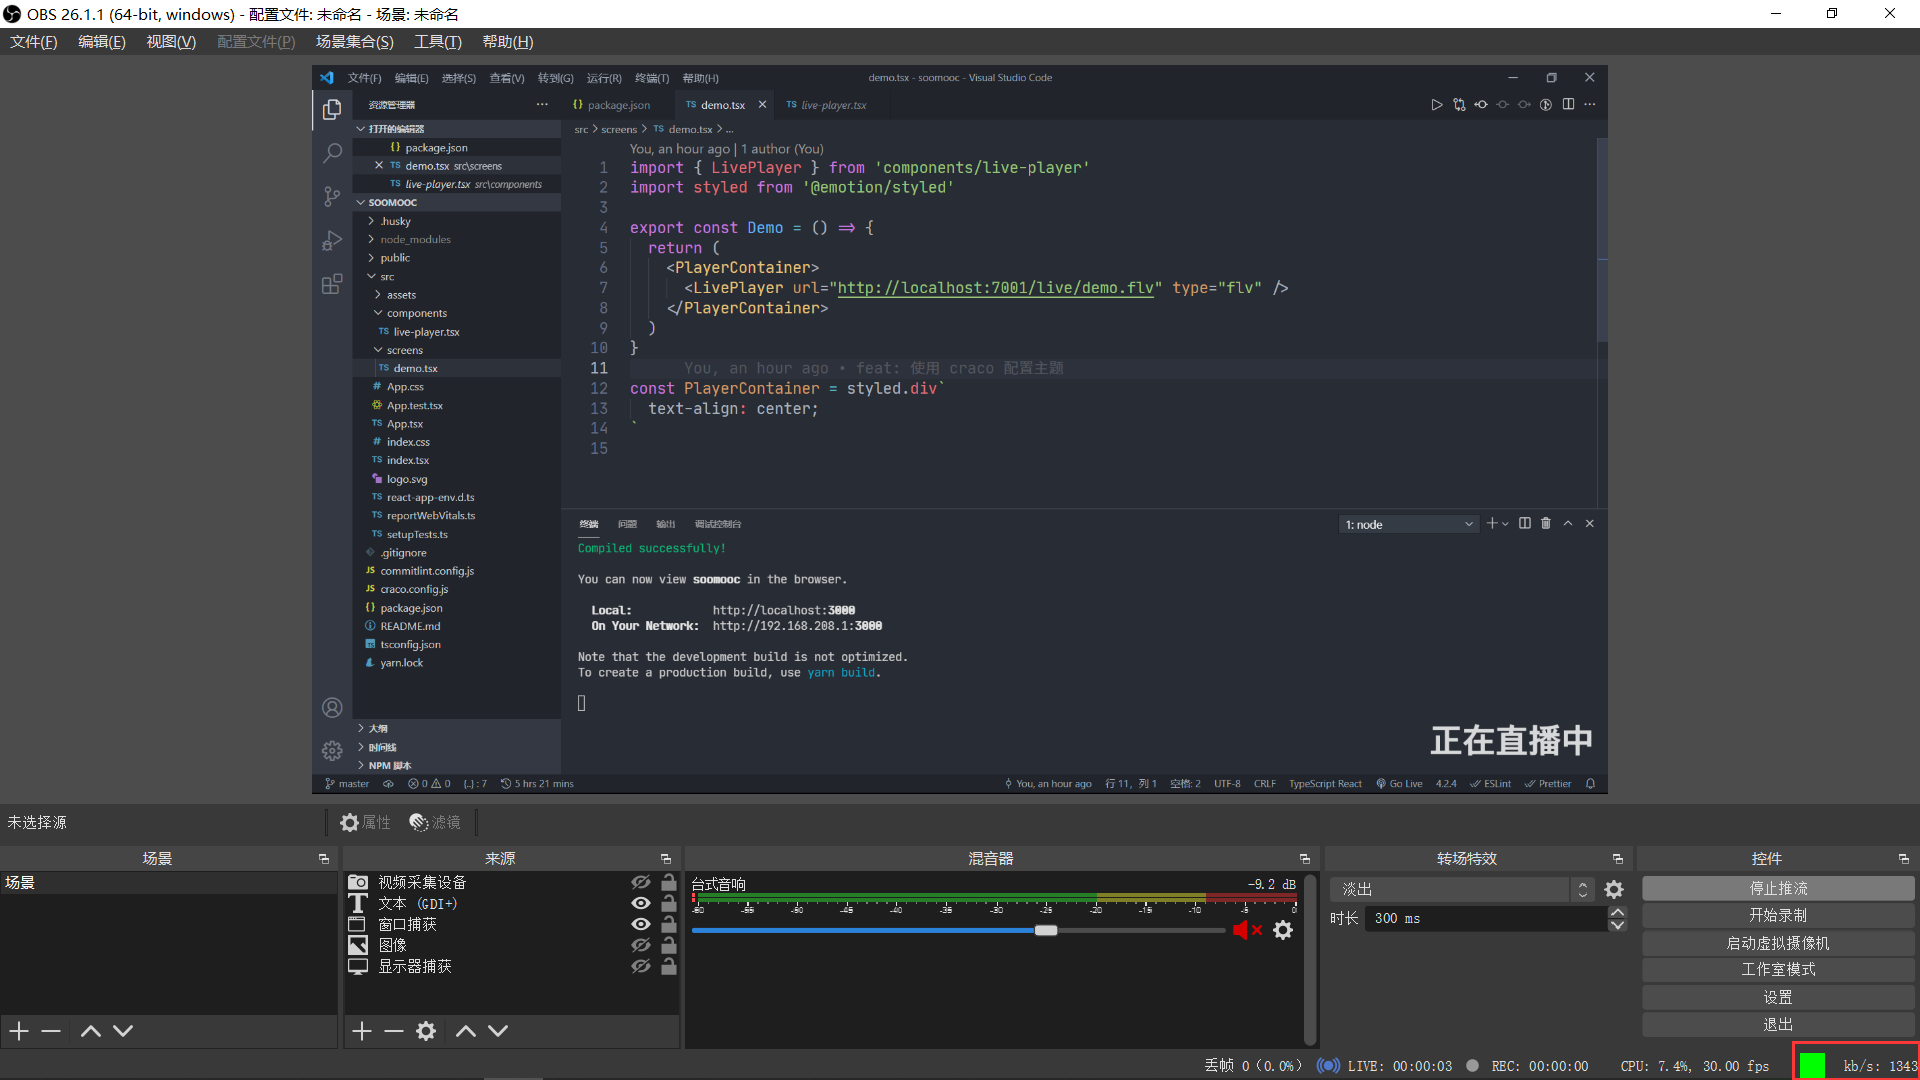
回到项目根目录,确认一下 demo.tsx 中的拉流地址是否一致。
<LivePlayer url="http://localhost:7001/live/demo.flv" type="flv" />
运行 React 项目。
yarn start
打开浏览器即可看到
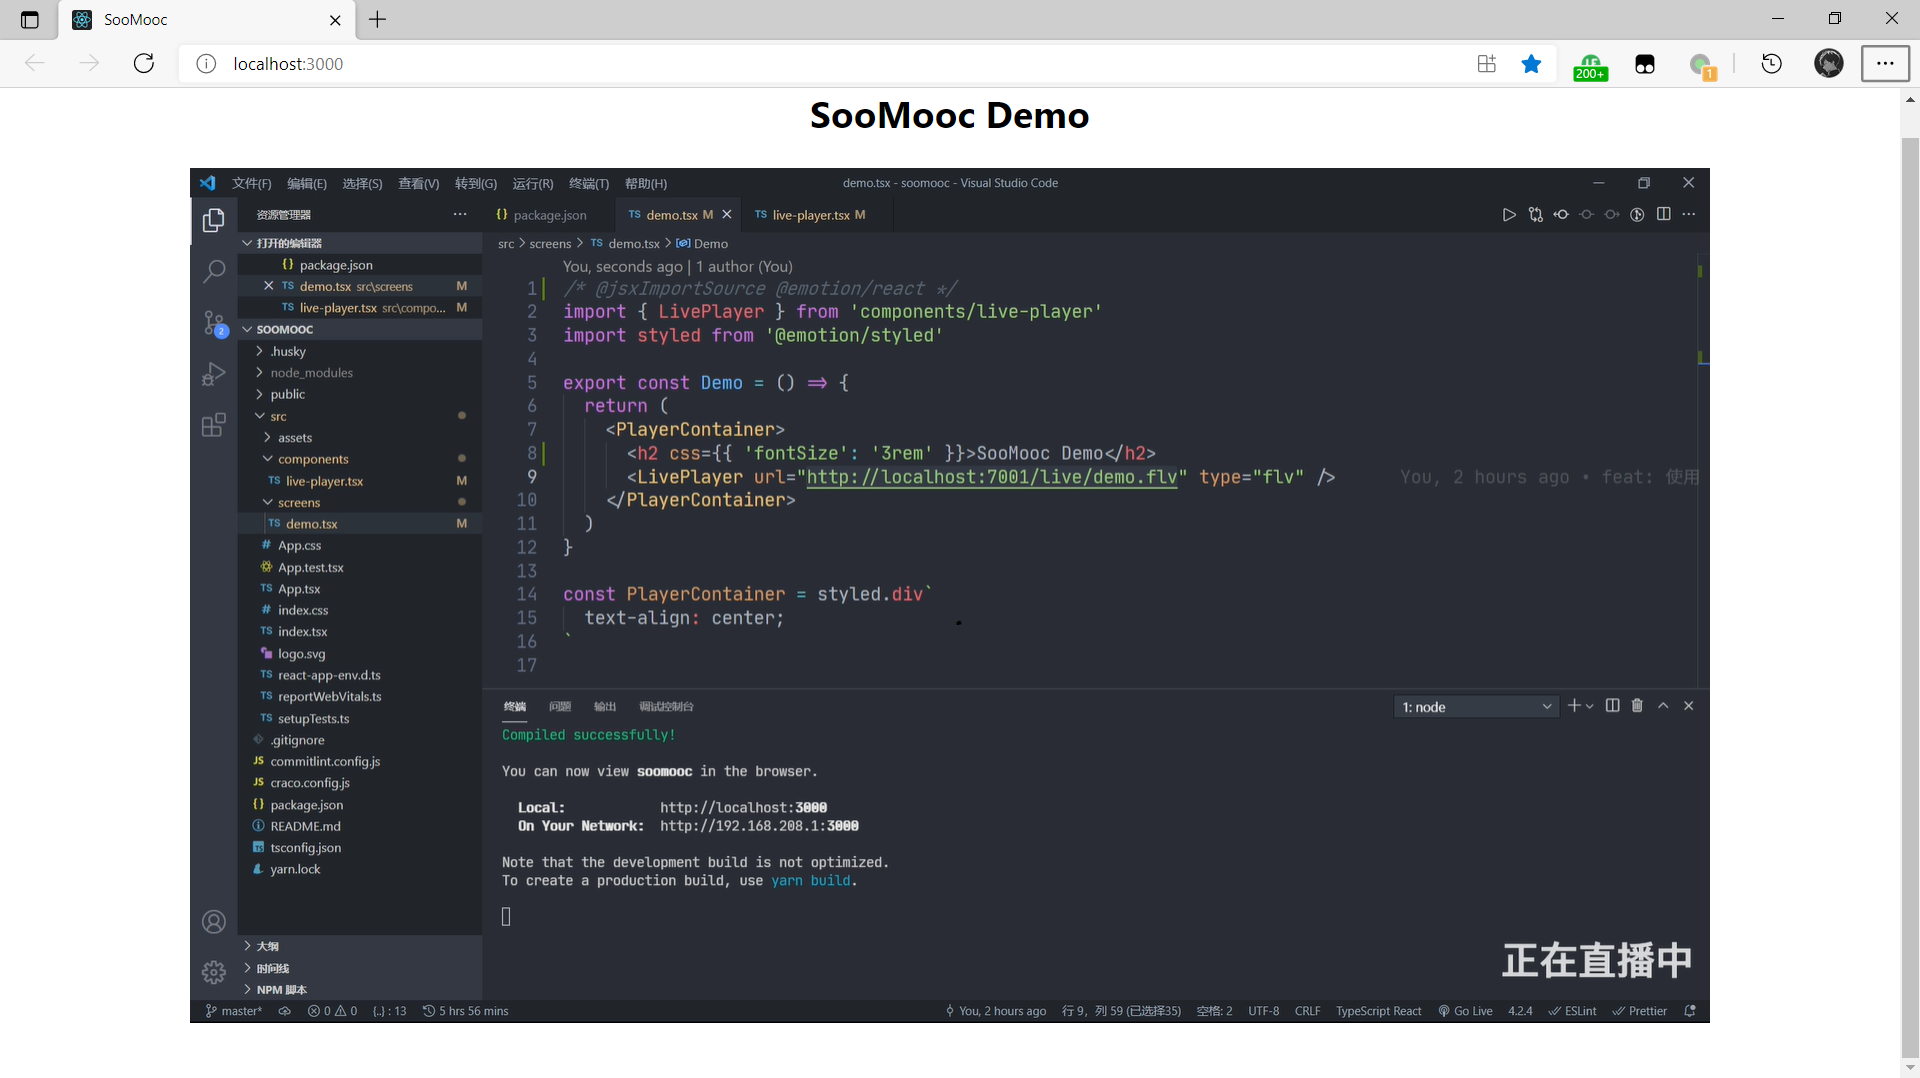
本地推拉流延迟大约2-3s,第一步大功告成。